DIY Wall Art: Unleash Your Creativity and Personalize Your Space
Blank walls in your home are like empty canvases waiting for your creativity to transform them into something beautiful and meaningful. Enter the world of DIY wall art, where you have the power to craft unique and personalized pieces that not only adorn your walls but also reflect your individuality. In this blog post, we’ll explore the exciting realm of DIY wall art, offering ideas, inspiration, and step-by-step guidance to get your creative juices flowing.
The Significance of Wall Art
Wall art plays a crucial role in interior design. It can set the tone, establish a theme, and breathe life into any room. Here’s why wall art matters:
- Personal Expression: Wall art allows you to express your personality, interests, and style in your home decor.
- Visual Interest: Artwork creates focal points in a room, adding visual interest and breaking up monotonous spaces.
- Emotional Impact: The right wall art can evoke emotions, inspire, or simply make you smile every time you enter a room.
- Customization: DIY wall art lets you customize your decor to match your home’s color scheme, theme, and personal taste.
DIY Wall Art Ideas
Let’s dive into some exciting DIY wall art ideas that you can create to personalize your space:
1. Canvas Painting
Canvas painting is one of the most versatile forms of DIY wall art. You don’t need to be a professional artist to create stunning pieces. Here are a few ideas:
- Abstract Art: Create your abstract masterpiece with bold brushstrokes and vibrant colors.
- Nature Scenes: Paint your favorite natural landscapes or abstract nature-inspired art.
- Quote Art: Incorporate meaningful quotes or phrases into your artwork.
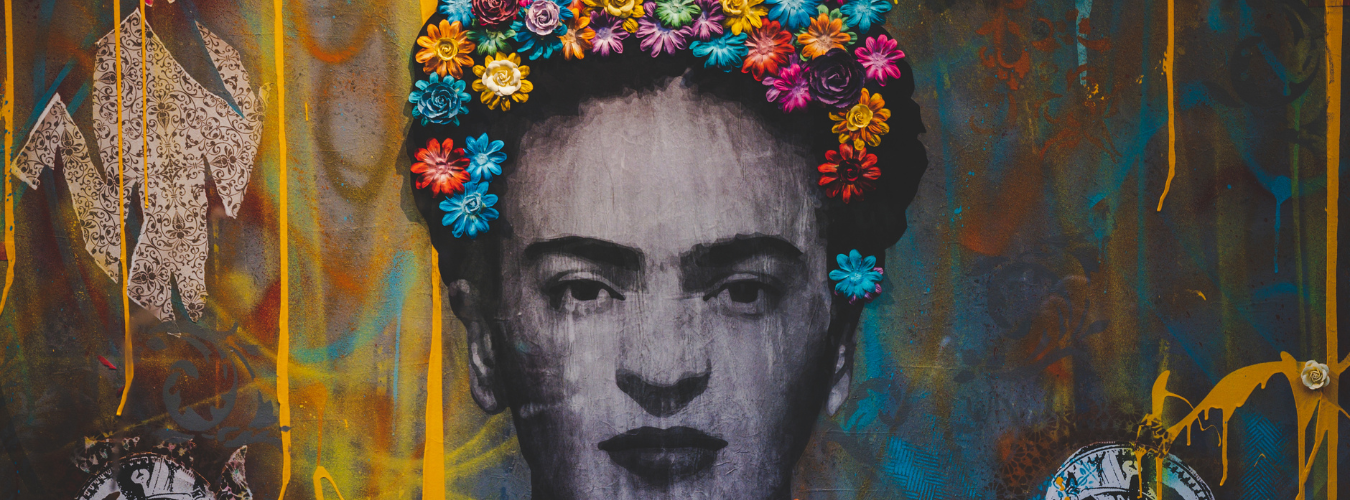
- Silhouette Art: Paint silhouettes of objects, animals, or people.
2. Paper Crafts
Paper is a fantastic medium for DIY wall art. It’s affordable and allows for endless creativity:
- Origami Art: Fold intricate origami pieces and frame them as wall art.
- Paper Collage: Create colorful collages using magazine cutouts, scrapbook paper, or old maps.
- Botanical Prints: Press and frame dried flowers or leaves for a charming botanical display.
3. Wall Decals and Stencils
If you prefer a more straightforward approach, consider using wall decals or stencils:
- Vinyl Decals: Apply vinyl decals in various shapes, patterns, or even custom designs.
- Stencil Art: Use stencils to create repetitive patterns or designs on your walls.
4. Fabric Wall Hangings
Fabric wall hangings add texture and dimension to your decor. Here are some ideas:
- Tapestry: Hang a beautiful tapestry with intricate designs or patterns.
- Framed Fabric: Frame a piece of fabric with an interesting pattern or print.
- Quilted Art: Create quilted wall art with fabric scraps and a sewing machine.
5. Wood and Sculptural Art
For a more rustic or dimensional look, experiment with wood and sculptural DIY wall art:
- Wooden Planks: Arrange wooden planks in various patterns and paint or stain them.
- Wire Sculptures: Bend and shape wire into 3D art pieces, like animals or abstract forms.
- Shadow Boxes: Fill shadow boxes with small objects, collectibles, or memorabilia.
6. Photo Gallery
Curate your own gallery wall using a collection of your favorite photographs:
- Family Photos: Create a gallery of family portraits, vacation memories, or special occasions.
- Travel Wall: Showcase photos from your travels, along with mementos like maps or postcards.
- Instagram Grid: Print and frame your favorite Instagram photos in a grid pattern.
DIY Wall Art: A Step-by-Step Guide
Let’s walk through the process of creating a simple DIY canvas painting to illustrate how you can bring your artistic vision to life:
Materials Needed:
- Canvas
- Acrylic paints
- Paintbrushes
- Palette or disposable plate
- Water for rinsing brushes
- Paper towels or cloth for wiping brushes
- Easel or flat surface
Steps:
- Prepare Your Workspace: Set up a clean and well-ventilated area for painting. Use an easel or a flat surface to support your canvas.
- Choose Your Design: Decide on the design and color palette for your canvas. Sketch your design lightly with a pencil if needed.
- Mix Your Paint: Squeeze out the acrylic paints you’ll be using onto a palette or disposable plate. You can mix colors to achieve the desired shades.
- Paint the Background: Start by painting the background of your canvas. Use broad brushstrokes and cover the entire canvas evenly. Allow it to dry completely.
- Add Details: Once the background is dry, add details and layers to your design. Be patient and work in layers, allowing each layer to dry before adding the next.
- Fine-Tune and Sign: Fine-tune your painting, making any necessary adjustments or additions. When you’re satisfied with your artwork, sign it with your initials or signature.
- Seal Your Art: To protect your painting and give it a professional finish, you can apply a clear varnish or sealant once the paint is completely dry.
- Frame and Hang: Finally, frame your artwork and hang it on your wall to enjoy your DIY masterpiece.
Conclusion
DIY wall art offers an incredible opportunity to personalize your living spaces and infuse them with your creativity and style. Whether you prefer canvas painting, paper crafts, fabric hangings, or any other medium, the possibilities are endless. So, don’t let those blank walls go to waste—unleash your artistic spirit and start decorating your home with DIY wall art today!
Remember, there’s no right or wrong way to create DIY wall art; it’s all about self-expression and making your space uniquely yours. Happy crafting!